Honey Bread Recipe Without a Stand Mixer
This recipe requires no stand mixer, just patience! You can prepare it in the evening and refrigerate it, then bake it the next day. While the texture isn't quite as good as when using a stand mixer, it's still quite decent. For best results, store it in the fridge and microwave it for a few seconds before eating. Most of the time is spent on the dough rising process.
Estimated Cooking Difficulty: ★★★☆☆
Essential Ingredients and Tools
Dough Base
- Bread Flour: 400g
- Milk: 200g
- Yeast: 4g
- Egg: 1
- Granulated Sugar: 70g
- Salt: 2g
- Butter: 30g
Honey Water (for brushing on top)
- Honey: 20g
- Water: 20g
Optional (for sprinkling on top)
- Sesame Seeds
Calculations
The following ingredients are for baking using a rectangular baking pan (10 x 15 inches / approx. 25 x 38 cm) + a square baking pan (9 x 9 inches / approx. 23 x 23 cm) + parchment paper. It is recommended to reduce the quantities according to your needs. This batch lasts about two weeks for breakfast (when stored in the fridge). Note that bread stored in the fridge will harden; simply microwave it for 10-20 seconds to restore softness.
Instructions
- Make the dough: Mix flour, milk (heated to 40°C, approx. 104°F; I used a microwave for 15-20 seconds), yeast, egg, sugar, and salt.
- Knead the dough until the ingredients are well combined and form a cohesive ball.
- Add the butter and mix in.
- Continue kneading and hand-mixing until evenly combined.
- Start the first rise: Cover the container with plastic wrap and let it rest at room temperature (10-20°C / 50-68°F) for 1-2 hours. A slightly longer time won't negatively affect the result.
- Once the dough has visibly doubled in size, you can start dividing it. At this stage, the dough should no longer be very sticky.
- Divide the dough: Ideally, each piece should weigh 60g for a neat appearance, but you can adjust the size to your preference.
- Roll each small piece of dough into a tongue shape using a rolling pin, then roll it up. Let it rest (second rise) for 10 minutes.
- Roll each piece into a tongue shape again and cut it in half (one becomes two).
- Roll each piece into a tongue shape again and cut it in half again (two becomes four). (You can repeat the rolling/folding steps as much as time permits, just ensure the final portion size is consistent.)
- Line the baking pan with parchment paper and pour in some peanut oil. Dip the bottom of each rolled piece into water and then flour before placing it in the pan.
- Second rise (cover with plastic wrap). You can place this in the fridge and bake it the next day.
- Brush with egg wash.
- Bake at 180°C (355°F) for 18-20 minutes.
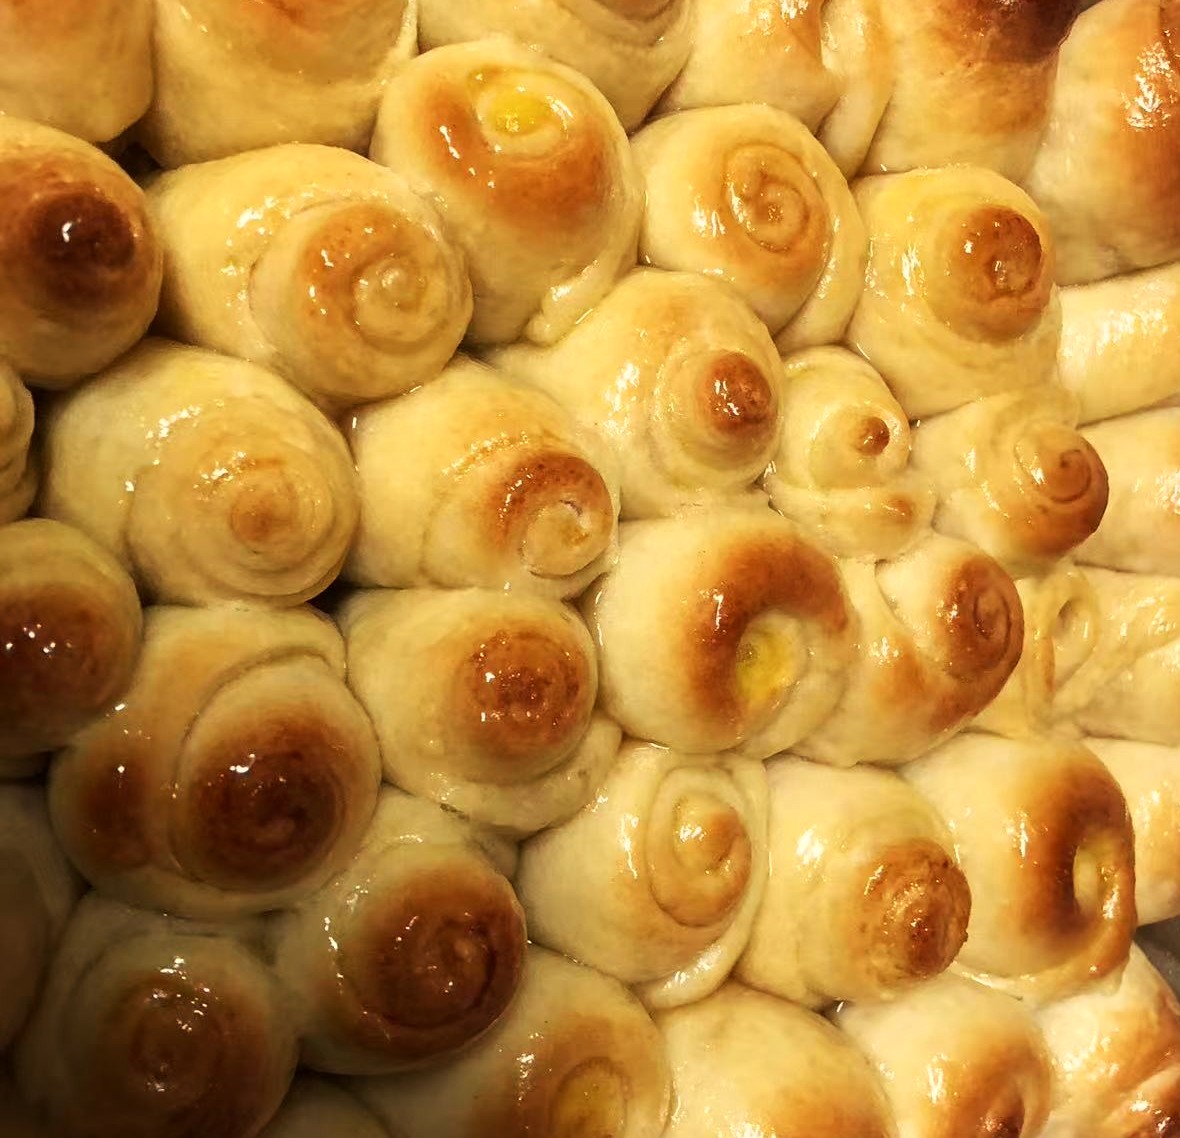
- Once out of the oven, brush with honey water and sprinkle with sesame seeds.
Additional Notes
- The proofing time is not fixed; check every hour to confirm. It is ready when it visibly doubles in size. It is recommended to proof until it is 2 to 2.5 times its original size.
- The size of the dough does not significantly affect the texture or baking results, so you can adjust it according to your preference.
- Reference: Xia Chu Fang - Crispy Bottom Honey Mini Bread
If you encounter any issues or have suggestions for improvement while following the production process in this guide, please submit an Issue or Pull Request.